The Growers Guide To Soil Testing
 Whether you own acres of land or a simple flower bed, a wise gardener tests the quality of their soil before the growing season. A soil test measures the common elements found in soil. These elements include phosphorus, potassium, calcium, magnesium, sodium, sulfur, manganese, copper and zinc. When done correctly, soil testing determines the exact amount of nutrients in the soil. From these results, you will learn the appropriate amount of fertilizer and lime for your land. Soil testing also measures the pH or acidity of your soil.
There are several benefits to soil testing. Knowing your soil’s composition, acidity and mineral density will yield the best results from your garden. Soil testing identifies the exact quantity of each nutrient in the ground. An accurate measure of fertilizer and lime increases plant growth and the quality of the environment. In the long run, soil testing is a great way to save some green; you will save money that would have been spent on unnecessary fertilizers.
There are many simple and inexpensive do-it-yourself soil tests. First, you can determine the overall health of your soil by the number of earthworms in your garden. Worms can only live in nutrient-rich soil. While gardening, keep track of the number of worms you come across in one small area of your garden. If you count at least ten earthworms, then you have healthy soil.
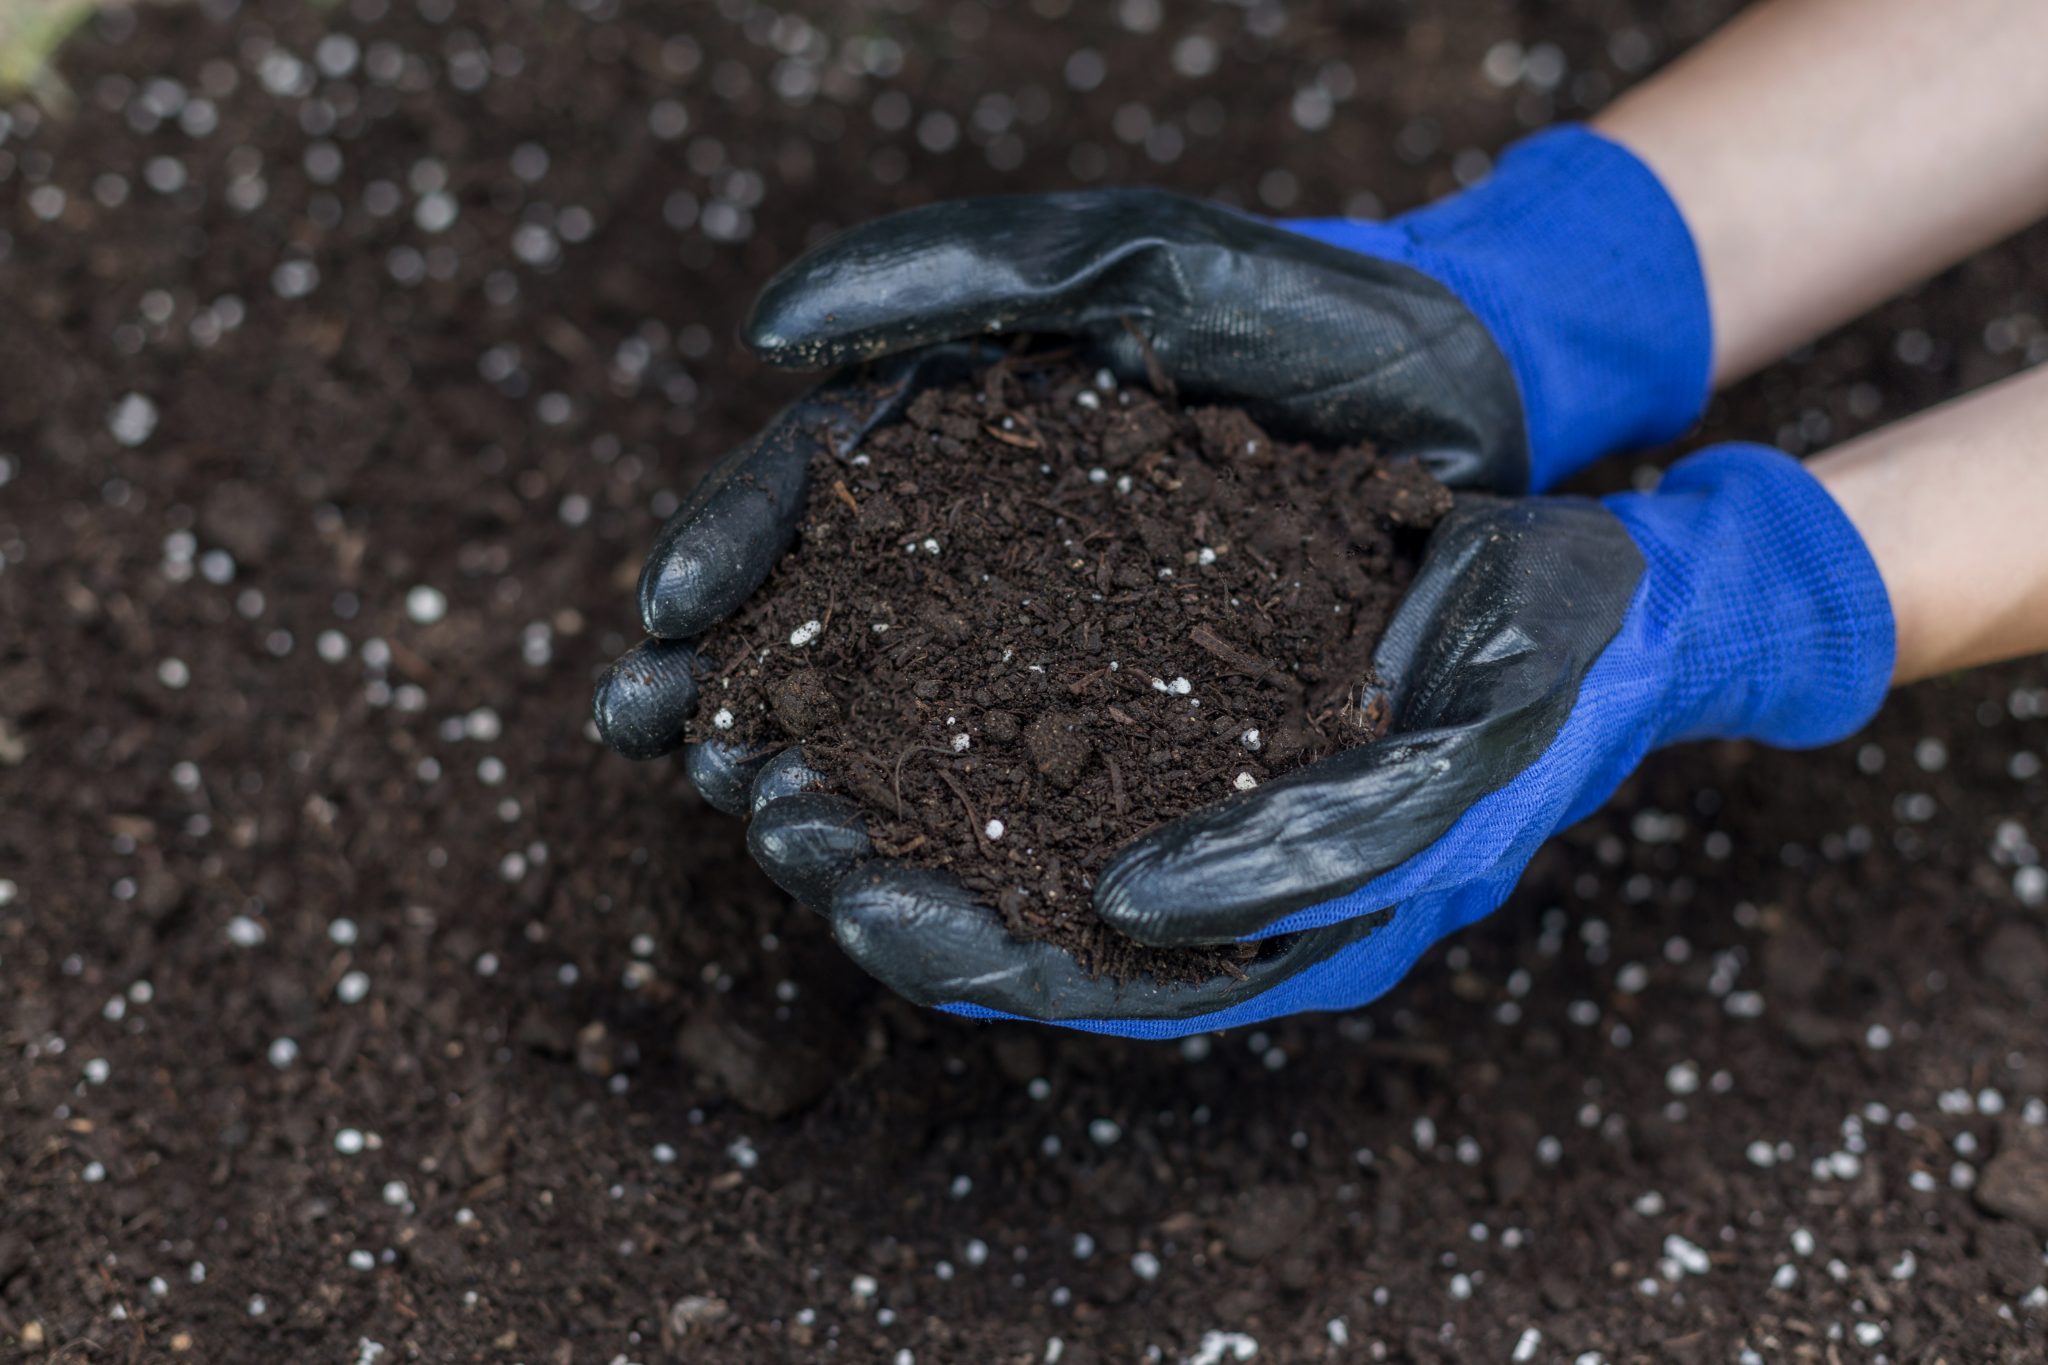
Another easy soil test, known as the squeeze test, measures the composition of your garden without having to call in the professionals. The three common soil compositions are clay soils, sandy soils, and loamy soils. Clay is full of nutrients but drains poorly. When squeezed and released, clay soil will hold its shape. Sandy soil drains quickly. However, sand does not retain nutrients and falls apart in your hand. Loam contains the appropriate amount of water and nutrients. Loamy soil holds its shape, yet crumbles with enough force. To test your soil, squeeze a handful of damp soil from your garden. Then open your hand and observe. Knowing the type of soil in your garden indicates which plants and fertilizers are most suitable.
For larger tracts of land, you may find it beneficial to consult a laboratory or agricultural advisor. The same local labs that offer water testing will also have affordable soil testing. A soil sample must be taken at the right time, however, and in the right way to produce quality results.
Timing is everything. The best time for soil testing is about two to three months before you start a new landscaping project. Give yourself enough time to process the soil sample and apply the results. The soil will also need time to adjust to additional fertilizer or lime. Soil testing at a lab can take about one week to be analyzed, and several weeks during the busy growing season.
When taking a soil sample for a lab, you should also consider: using clean equipment, taking a sample from each individual area, measuring an appropriate amount of soil, and packaging the sample correctly. Soil testing is just one way to help turn an average garden into your dream garden. Whether you consider yourself an amateur or a serious green thumb, get your soil tested on a consistent basis.